What Needs to Happen Before You Pick up a Paint Roller
Drywall finishing prepares walls for painting by making the surface smooth, even, and free of seams or flaws. It fills joints, covers screw holes, and sands rough spots so paint can stick the right way. Without this step, paint will show lines, dents, and patches. A clean, flat surface helps paint look rich and last longer.
What You Need Before Starting Drywall Finishing
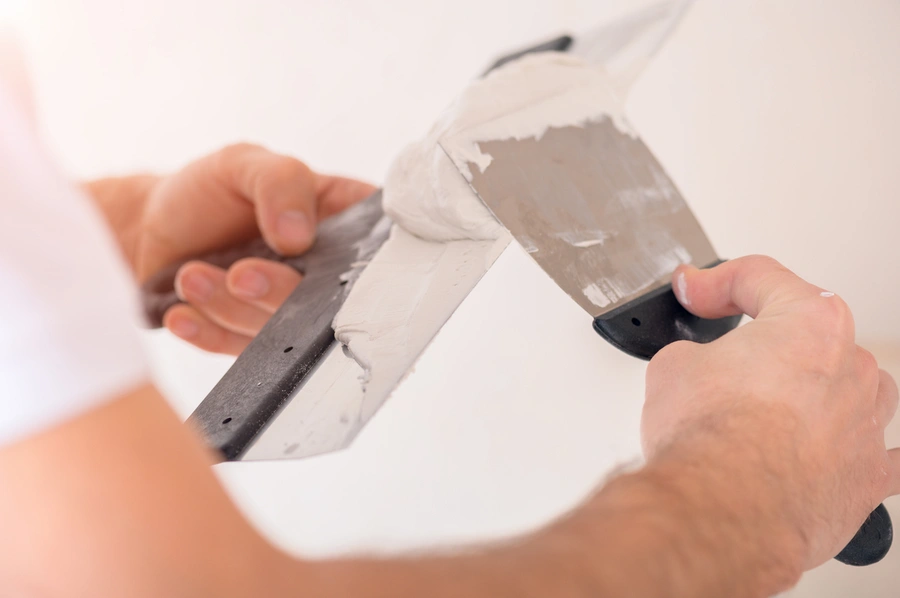
Before starting drywall finishing, gather the right tools and safety gear. Having everything ready saves time and keeps the work moving.
- Joint compound (also called mud)
- Drywall tape (paper or mesh)
- Putty knives in different sizes
- Sanding block or pole sander
- Drop cloths and painter’s plastic
- Dust mask and safety glasses
This part of the project falls under home improvement work. It may look simple, but it takes patience. Each layer must dry before the next step.
Step-by-Step: How Drywall Finishing Works
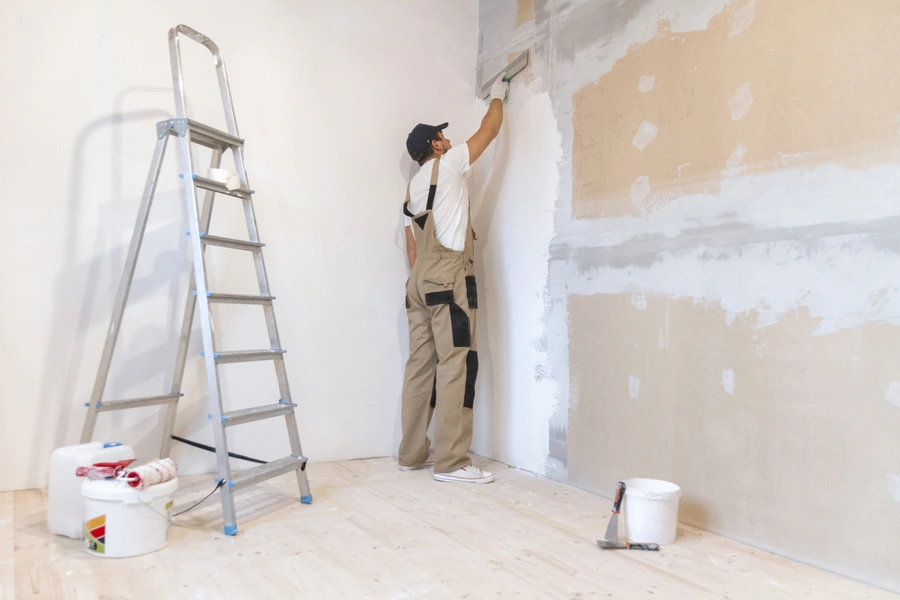
The process happens in stages. Rushing through them can ruin the final paint job.
- Tape the seams. Apply joint compound over drywall joints. Press tape into the wet mud. Smooth it out so there are no bubbles.
- Cover screws and corners. Add compound over every screw head. Coat inside and outside corners.
- Apply a second coat. Once dry, add a wider coat over seams. Feather the edges so they blend into the wall.
- Add a third coat if needed. This helps hide joints fully and creates a flat surface.
- Sand the surface. After the final coat dries, sand lightly. Remove ridges and bumps.
- Clean the dust. Wipe walls with a dry cloth or vacuum dust before priming.
After sanding and cleaning, the wall is ready for primer. Primer seals the compound and helps paint stick evenly.
Common Mistakes to Avoid
Many paint problems trace back to poor drywall finishing. Watch out for these mistakes:
- Skipping tape on seams
- Using too much compound at once
- Not letting each layer dry fully
- Sanding too hard and damaging the surface
- Painting without primer
Thick layers take longer to dry and often crack. Not sanding enough leaves lines that show through paint. On the other hand, over-sanding can expose tape and ruin the joint.
Why Drywall Finishing Makes Paint Look Better
Paint reflects light. Any dip, bump, or line becomes easy to see after paint dries. Drywall finishing removes those flaws. It creates a flat plane from corner to corner.
When walls are smooth, paint spreads evenly. The color looks true. Sheen appears consistent across the room. For example, in rooms with natural light, even small ridges can cast shadows. A properly finished wall avoids that problem.
This step also helps paint last longer. Joint compound absorbs primer and paint differently than raw drywall paper. Finishing and priming help balance that absorption so you do not get blotchy patches.
When to Call a Professional
Small nail holes are easy to patch. Large drywall jobs are different. If you are dealing with full-room installation, water damage repairs, or uneven framing, it may be time to get help.
Signs you may need a professional:
- Visible seams after multiple coats
- Cracks forming along joints
- Uneven or wavy wall sections
- Time constraints before painting
A skilled crew knows how to blend joints, smooth corners, and prep the surface fast. They also control dust, which can spread through the home during sanding.
Get Smooth Walls Ready for Paint
If you want clean, paint-ready walls in Mckinney, TX, we can help with every stage of drywall finishing. At Joseph's Drywall and Painting Services, we handle taping, mudding, sanding, and prep so your paint looks smooth and even. Call (469) 210-7316 to schedule service or ask about your project, and we will be glad to help.